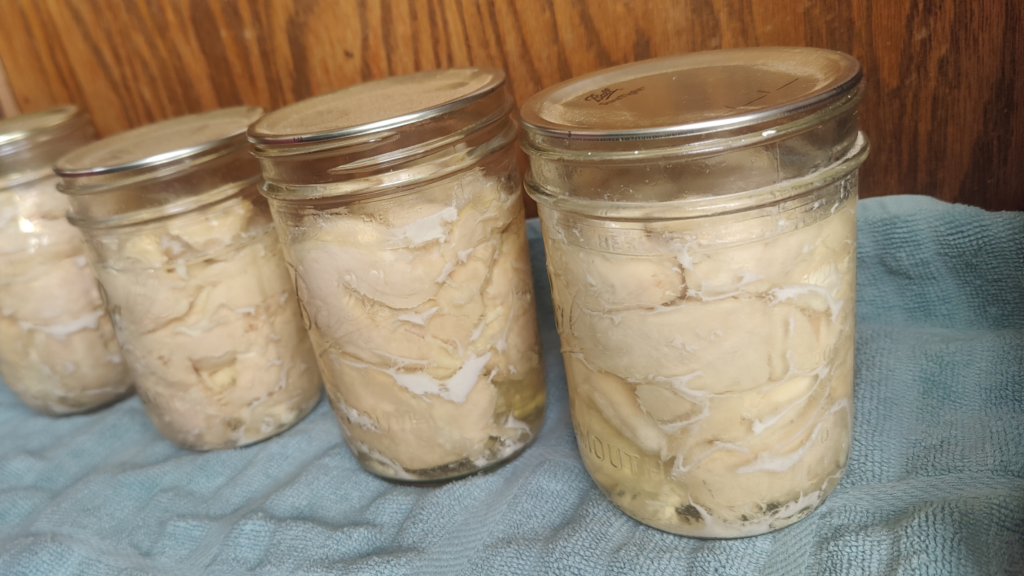
Our budget is tight, and doesn’t allow for a lot of eating out. When you are working long hours or busy with kids, it is so tempting to just get some takeout. I know I don’t always have energy or time to cook the way I want. One way that I make quick, easy meals is with canned chicken. Canning chicken can be fit in whenever I have a bit more time on a weekend or day off, and the jars of chicken make meal prep fast and easy.
This post may contain affiliate links, which means I’ll receive a commission if you purchase through my links, at no extra cost to you. Please read full disclosure for more information.

Why can my own chicken?
Know where your food comes from
I just love anything that I can do to be more self-sufficient. If I can make it myself, I will or I’ll learn. In part, I like knowing where my food comes from and eating less processed food. While you could certainly buy canned chicken, it might contain preservatives, water, or rib meat. Sometimes I find commercially canned chicken to be too salty. It may also be a mix of light and dark meat. I can choose if I want to use chicken thighs or chicken breasts depending on what I want to make with it. And if I make it, it certainly won’t have any preservatives, added water, or too much salt!
Buy chicken in large quantities when on sale and store until you need it
To make the most of my grocery budget, I like to buy in bulk when I can get a good deal. Freezer space is limited, so canning helps me save my produce and meats. Home canned foods are good for a year or more. So when chicken is on a good sale, you can bet I’ll be canning it the next day.
Canned chicken makes for quick and easy meals
If I’m pressed for time, I almost always open a jar of canned chicken to put together a meal. Canned chicken can be used to make so many meals, and it saves me a lot of time. This keeps me from ordering takeout, helping us stay within our budget and save money. Canned chicken is also easy to take along when we’re camping. You don’t need to refrigerate it until it’s opened, and you can quickly make sandwiches, top a salad, or throw it in a soup.

What equipment do I need to can chicken?
I use this pressure canner because it works with smooth-top and induction stoves. Not all pressure canners work with a smooth cooktop, so purchase wisely. If you’re like me and have a small kitchen with limited storage space, you can also use this pressure canner as a water bath canner too. There’s no need to buy and store a separate water bath canner.
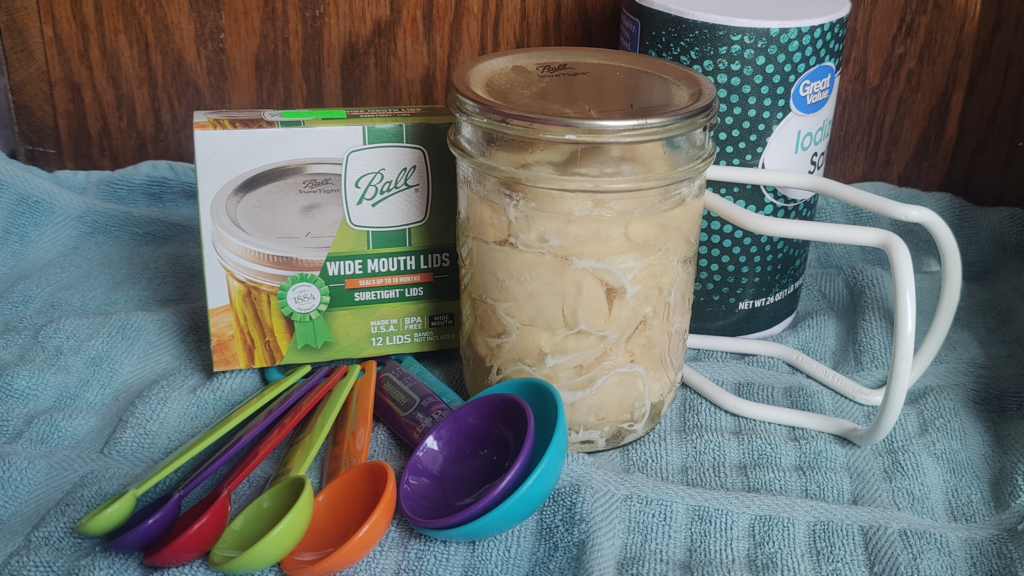
You will also need jars, lids and rings. I prefer to buy Ball canning jars and lids, because they hold up well with the temperature changes when I’m cold packing. That means that the ingredients I put in the jar to can are cold. Some other brands of jars are more likely to crack as the cold jar and contents heat up.
I also like this Ball canning tool set. It makes it much easier to handle hot jars and lids without fear of dropping anything.
Can I use a water bath canner for chicken?
What is botulism?
Botulism is caused by a toxin that is created by the Clostridium botulinum bacteria. This toxin causes serious illness, and it is particularly serious in the elderly and other high risk groups. Overall botulism has a 10% fatality rate; that’s scary. Normally, when food is handled and cooked correctly, the bacteria does not grow so even if spores are present, food is safe to eat. But when low acid foods like chicken are canned, spores are not killed by the heat from a water bath canner. As the jar is stored, the spores can produce bacteria that grows and produces the botulinum toxin. Unfortunately, you can’t tell by taste, smell, or appearance if your food contains botulinum toxin. That’s part of what makes it so dangerous.
Canning Chicken with a Pressure Canner is Safe
Pressure canners heat the food to a higher temperature than a water bath canner. This higher temperature from the pressure canner is enough to kill the bacteria AND the spores. Now there is no chance that botulinum toxin will be in your food, as long as the jars remain sealed. As with all canned food, if the jar doesn’t have a good seal when you take it off your shelf, don’t eat it.

How to can chicken
1. Prepare the jars and lids
Wash jars, lids and rings in hot soapy water before filling. Rinse well, but drying them is not necessary. I prefer to use wide mouth jars. It makes it so much easier to get the chicken in and out. For our family, a pint jar is the perfect size but you could also can chicken in quart jars if you wish.
Wash jars, lids and rings in hot soapy water before filling. Rinse well, but drying them is not necessary. I prefer to use wide mouth jars. It makes it so much easier to get the chicken in and out. For our family, a pint jar is the perfect size but you could also can chicken in quart jars if you wish.
2. Fill jars
Fill the jars with raw boneless, skinless chicken. You can can bone-in chicken, but I prefer to can boneless chicken as it has a lot of quick, easy uses for cooking. When you fill the jars, leave 1 inch headspace (the space between the top of the food and the top of the jar). On top of the chicken, sprinkle 1/2 teaspoon of salt per pint. If you are using quart jars, use 1 teaspoon salt.
Fill the jars with raw boneless, skinless chicken. You can can bone-in chicken, but I prefer to can boneless chicken as it has a lot of quick, easy uses for cooking. When you fill the jars, leave 1 inch headspace (the space between the top of the food and the top of the jar). On top of the chicken, sprinkle 1/2 teaspoon of salt per pint. If you are using quart jars, use 1 teaspoon salt.
3. Close the jars
4. Pressure Can your Chicken
Your pressure canner may come with instructions for canning chicken, so take a look before you get started. If not, here’s what I do. First, fill your pressure canner with the right amount of water. Lock the pressure canner lid, and bring water to a boil over medium-high heat. Once it’s boiling, vent the steam for 10 minutes, then close vent. Continue heating to 10 pounds of pressure.
5. Process pints 65 minutes, quarts for 90 minutes
Process your canned chicken for 65 minutes for pints, 90 minutes for quarts. Turn off the heat, and let pressure return to zero on it’s own. Wait 2 minutes longer, then open the vent. Remove the canner lid and wait 10 more minutes than remove jars. When the jars are cool, store them in a cool, dark place.

Quick meals to make with canned chicken
- Chicken gravy and waffles (or toast)
- Chicken noodle or chicken rice soup
- Enchiladas
- Nashville chicken sandwiches
- Chicken salad sandwiches
- Quesadillas
- Chicken bacon ranch wraps
For more ways to save money on meat, click here! If you are looking for more ideas, check out my other Money-Saving Recipes!
Canned Chicken
Equipment
- 1 Pressure Canner
- 8 Wide mouth pint jars
- 8 Jar lids and rings
Ingredients
- 9 lbs boneless, skinless chicken breast or thigh (may need more or less depending on how much you trim and how it fits into jars)
- 4 tsp salt
Instructions
- Wash jars, lids and rings in hot soapy water. Rinse well.
- Fill the jars with raw boneless, skinless chicken, leaving 1 inch headspace
- Sprinkle 1/2 teaspoon of salt over the chicken in each jar
- Wipe the rims of each jar with a paper towel or cloth wet with vinegar, then close each jar with a lid and ring
- Place jars in pressure canner and fill with appropriate amount of water. Follow the instructions for your pressure canner
- Lock the pressure canner lid, and bring water to a boil over medium-high heat. Once it’s boiling, vent the steam for 10 minutes, then close vent. Continue heating to 10 pounds of pressure.
- Process pints 65 minutes, quarts for 90 minutes
- Turn off the heat, and let pressure return to zero on it’s own. Wait 2 minutes longer, then open the vent. Remove the canner lid and wait 10 more minutes than remove jars.


