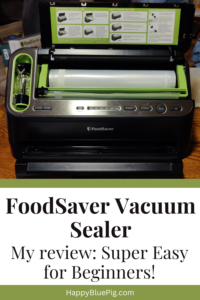
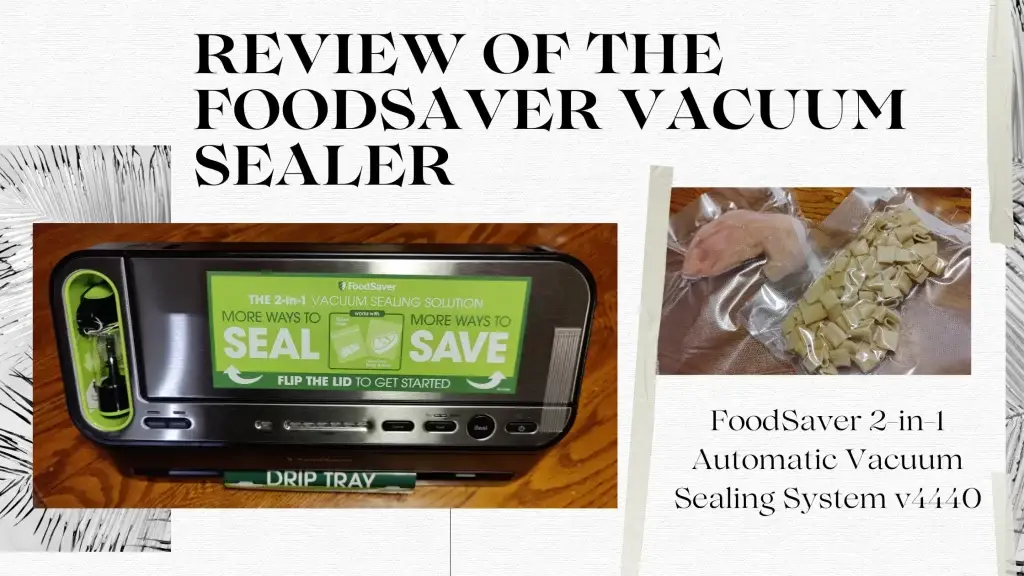
We’ve never had a vacuum sealer before, but I’ve been wanting one for a while. A vacuum sealer can save me the fees at the butcher for vacuum sealing, as well as keeping my frozen produce longer. With my husband butchering his own deer, it was time to make our purchase. After studying online reviews, we finally settled on purchasing the FoodSaver 2-in-1 Automatic Vacuum Sealing System v4440. Since I had never used a vacuum sealer, I was a bit intimidated, but FoodSaver is made everything so easy. Here’s what we’ll use the vacuum sealer for and the pros and cons of the FoodSaver 2-in-1 Automatic Vacuum Sealing System.
This post may contain affiliate links, which means I’ll receive a commission if you purchase through my links, at no extra cost to you. Please read full disclosure for more information.
Why buy a vacuum sealer?
Prevent food waste
I didn’t grow up with a vacuum sealer, and my mother frequently would buy meat in bulk. She’d simply wrap the meat in plastic wrap and foil. Lots of that food eventually became freezer burned. Freezer burned food is still safe, so we still ate them, but they did not taste good at all!
When my husband and I started to get a half a beef butchered, we had the butcher vacuum pack our meat for an extra fee. The meat has stayed fresh for 2+ years in our freezer!
No more freezer burned meat for me! With vacuum sealing, I can still buy in bulk and be confident that my meat will taste good when I defrost and cook it! My frozen berries won’t get all frosty. Even breads can be frozen, so I’ll be able to stock up on English muffins without worrying that they will become dry and hard by the time I’m ready to use them.
Save money
The main reason I wanted a vacuum sealer was to save money. My favorite strategies for saving money on groceries are to stock up when I can get a great deal at my local salvage grocery store or to buy in bulk. We also like to buy half a beef or half a pig from a local farmer and get it butchered. And this year, my husband started to butcher his own deer when he hunts, providing us with venison for a low cost. Having a vacuum sealer means that I can make the most of these strategies because my food will last well for a long time.
For more tips to save money on meat, click here.

What can you do with a vacuum sealer?
Vacuum sealers are good for more than just frozen foods. You can also use vacuum sealing to more than double food storage in the fridge and pantry as well. And there are far more foods that can be vacuum sealed than I realized. In fact, my vacuum sealer instructions state that there are only a few specific foods you should not vacuum seal: soft cheese (ricotta, feta, brie, etc), bananas, mushrooms, whole apples, raw onions and garlic, cabbages and lettuce, freshly cooked veggies, cucumbers and potatoes.
Some foods that last better when vacuum sealed are already very long lasting. For example, flour lasts at least 6 months in the pantry, but 2 years when vacuum sealed. For my purposes, I don’t have any need to increase the shelf life of flour. If I find a good price and stock up, I won’t be buying more than 6 months worth of flour.
The best foods to vacuum seal to save money, for my household, are:
- Beef, pork, chicken, venison, and fish to freeze
- Marinated meat in the fridge
- Shredded cheeses for freezing (I like to buy cheese in large blocks for a discount at my deli and shred it myself for the best price)
- Homemade or store-bought bread, cinnamon bread, English muffins, freezer biscuits
- Fresh berries and apple slices for freezing
- Shredded zucchini, spaghetti squash, and blanched vegetables from the garden for freezing
- Cookies (Save yourself some stress and bake a few batches ahead of time, freeze them, and get them out right in time for guests or for Christmas)
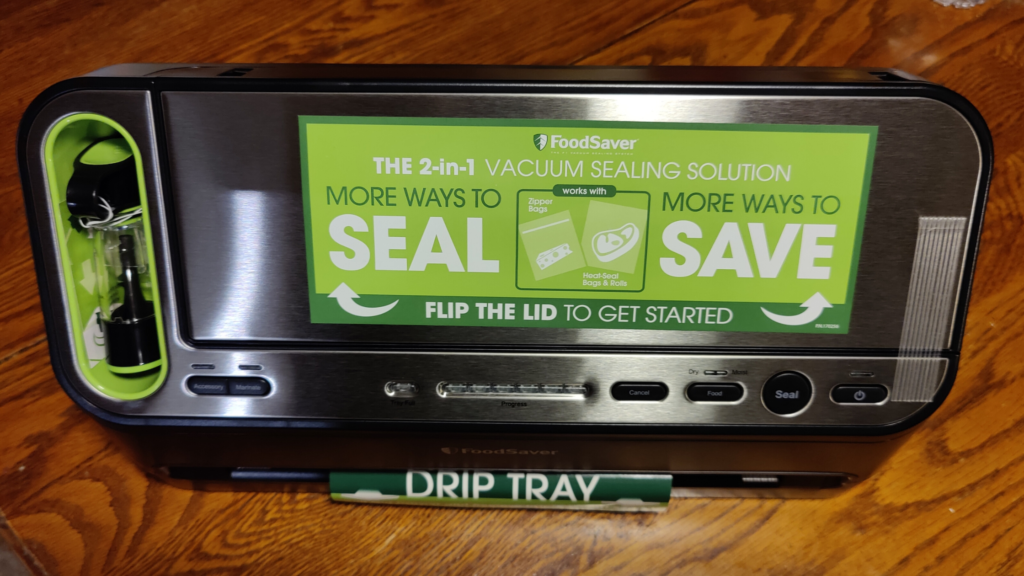
FoodSaver 2-in-1 Automatic Vacuum Sealing System, v4440
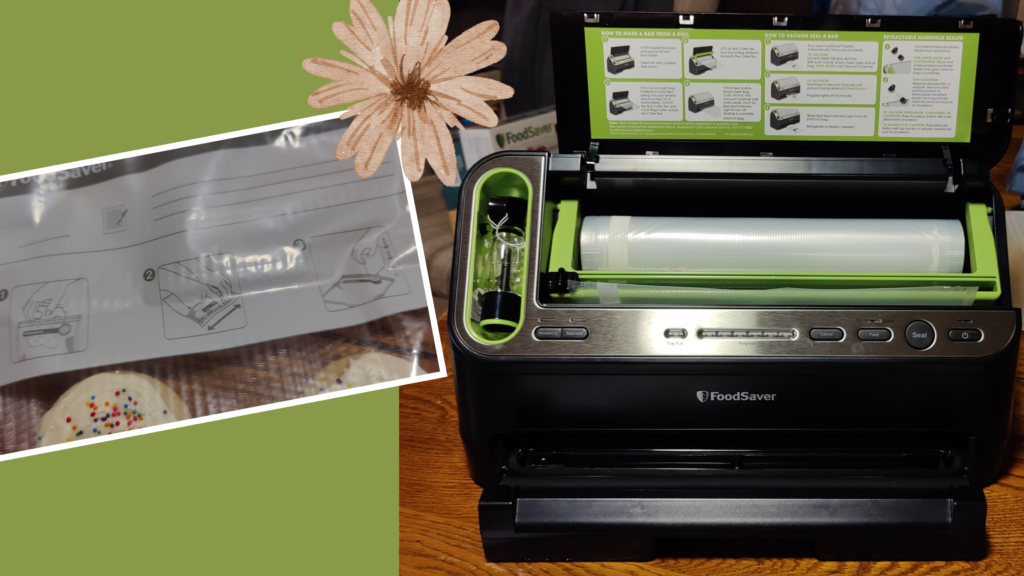
After careful consideration, we purchased the FoodSaver® 2-in-1 Automatic Vacuum Sealing System with Starter Kit, v4440. The image above is upon immediately removing it from the box. All the labels were super helpful as a vacuum sealer rookie. But it is in fact a sleek looking appliance when the labels are removed. This unit is 11″ high by 20″ long by 12″ wide, so it is still small enough to fit on our limited counter space. The description states it combines both a handheld and standard vacuum sealer. It has automatic bag detection and vacuum sealing, a removable drip tray and bag cutter. This unit will seal zipper bags, vacuum seal roll, containers, and canisters.
While this unit is not FoodSaver’s special liquid vacuum sealer, it does have a Marinate Mode to marinate foods more quickly. It also has adjustable settings for moist or juicy foods.
Using the vacuum sealer
I was so thrilled with how easy FoodSaver made it to start using their vacuum sealer. I’ll admit, I put off opening the box for a few days because I was afraid it would be difficult. There was nothing to worry about. Foodsaver has placed labels, pictures, and instructions just about everywhere. I didn’t try anything too juicy, so I can’t speak to how well this FoodSaver model would do. We weren’t planning to seal any liquids, which is why we didn’t choose one of FoodSaver’s liquid vacuum sealing models. If you’re interested in vacuum sealing liquids, you likely need the Elite All-in-one Liquid Vacuum Sealer.
Our vacuum sealer is new, so I can’t speak to longevity of the machine right now. We have sealed many pounds of meat, as we had venison and pork to prep for freezing. So far we’ve been pleased.
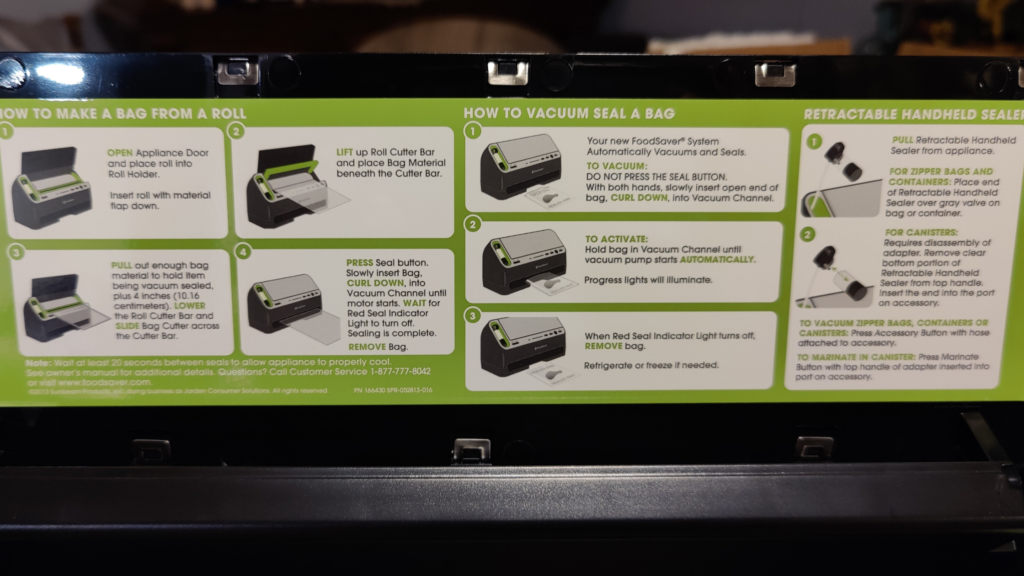
How to use the Vacuum Seal Roll
Vacuum sealing each item was quick, and very simple. This model includes a spot to store a vacuum seal roll with a bag cutter. Instructions were clearly printed for cutting the roll, making a bag out of the vacuum seal roll, and sealing your food. Once you cut your piece off the roll, simply press the Seal button and insert the plastic. Then the machine will automatically seal it for you to create a bag. Now place your item in the bag, then put the open end into the machine. You don’t need to hit any buttons, it will automatically vacuum seal your bag. The instructions state you should wait 20 seconds between vacuum seal to allow the unit to cool.
How to use the Vacuum Seal Zipper Bags
For FoodSaver’s zipper bags, the handheld retractable sealer was also easy to use. Fill the zipper bag with the food to be sealed, and close the zipper. Place the handheld retractable sealer over the circle, and hit the Accessory button. It really was that simple. I was so pleased! As you can see in the picture above, the FoodSaver zipper bags have images for each step right on the bag!
Delicate foods
For delicate foods, like berries or iced cookies, you start out with the normal process. Insert the bag for vacuum sealing, but then hit the Seal button partway through the vacuum sealing process. This causes it to stop vacuuming and seal the bag right away. Since this part isn’t automatic, it did take me a bit to figure out when to hit the Seal button. But the process works well, once you know what to expect
One thing I learned was not to use the ziplock bags for delicate items. For iced cookies, you really need to use the vacuum seal roll!
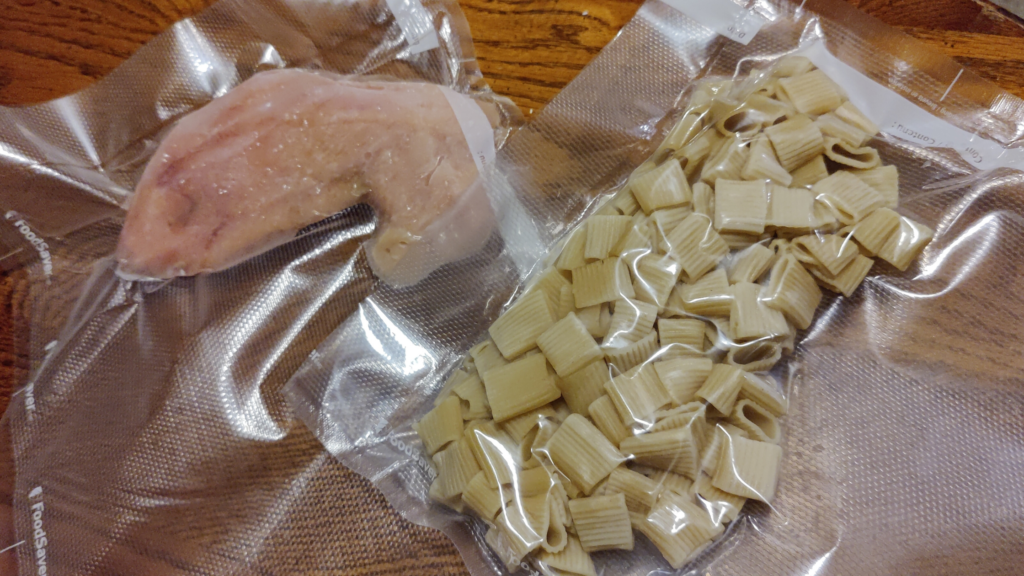
Here are some of the foods we tried so far:
Fish
The FoodSaver instructions state that the best way to vacuum seal fish is to place it in the freezer for about 2 hours first. Using this method, it was easy to vacuum seal the fish with no juices.
Cooked Pasta
I tried this for my first attempt at using the Seal button for “delicate” food items, since pasta would be pretty forgiving. Pasta looks great with a good seal.
Iced sugar cookies
Using the vacuum seal roll and hitting the Seal button at the right time, I was able to successfully seal iced sugar cookies without crushing them!
Ground venison and pork
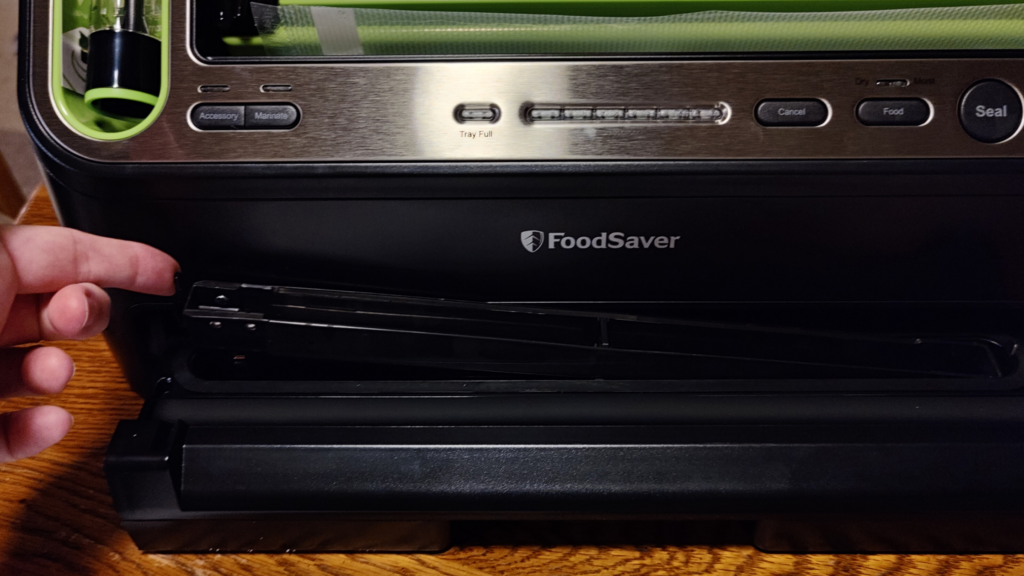
Our meat was partially frozen as it grinds up better that way, but there was a small amount of juices. The drip tray is removable and needs to be cleaned from time to time. There is an indicator light for when the drip tray is full. The image below is of the drip tray.
Tips from reading reviews
Some reviewers found that if the machine wasn’t sealing well, the drip tray likely needed a good cleaning out.
When you cut your own bags using the vacuum seal roll, you can cut to any size you want. You can cut them extra long for an item you want to be able to open and reseal. Cut off the sealed top of the bag, take out a bit of food to use now, then insert the open end of the bag to reseal.
One user saved and washed her bags, and reused and resealed them. That sounds like a great way to save money, as long as the bags didn’t contain meat products!
Pros
- So easy! Labels everywhere with images to make it simple to vacuum seal. Even when you open the box, it has labels for the drip tray, where to open the vacuum seal roll holder, how to use the bag cutter, and everything!
- Small profile for a small kitchen
- Vacuum seal roll is marked with white lines every 4 inches to help you cut the right bag length. FoodSaver’s ziplock bags have images showing you how to use them for vacuum sealing step-by-step
- Fast, automatic vacuum sealing. It was quick and easy. FoodSaver recommends waiting 20 seconds between seals to allow unit to cool. That time went fast as I was cutting and filling bags for sealing.
- Good seal on a variety of foods
Cons
- Loud when vacuum sealing. Not terrible, but too loud to use while my child is napping or sleeping. I don’t have any experience with other vacuum sealers, so I can’t compare.
- Cord is 24″, which isn’t too bad but may limit where you can place your vacuum sealer
Our Conclusion
Overall, if you are looking to buy a Vacuum Sealer, this one is a solid option. It is especially great if you are new to vacuum sealing, as FoodSaver makes the whole process nearly fool-proof!
